Design your own hallmark stamp or Makers mark!
Simply send us an email with your design and the desired height, and we will verify that the stamp can be produced. Once verified, you can proceed with your order.
Maximum dimensions of the straight stamp is 8mm x 8mm.
**Student & Gem Club Discounts do not apply to custom made hallmarks
FAQs for Custom Hallmarks
Ideal for marking precious metals (silver, 9ct gold, 14ct gold, 18ct gold) and soft metals (copper, brass, bronze).
Please choose carefully and contact us with questions as there are no refunds on custom ordered products.
Straight or Gooseneck/Bent?
The straight hallmark is good for stamping flat surface which can be supported by laying them on a flat block, such as pendant, earrings, tableware or holloware.
The gooseneck/bent hallmark is made for stamping the inside of rings. It is curved so it can be placed inside a finished ring. This also need to be supported, ideally in a curved block that matches the curve and profile of the ring. The gooseneck/bent hallmark is not recommended for stamping flat surfaces, due to the slight curve in the face.
How big should it be?
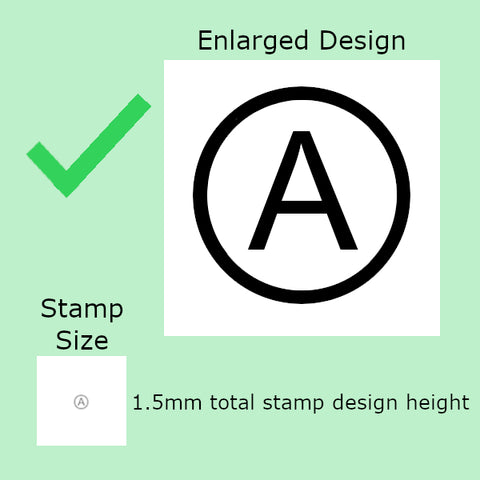
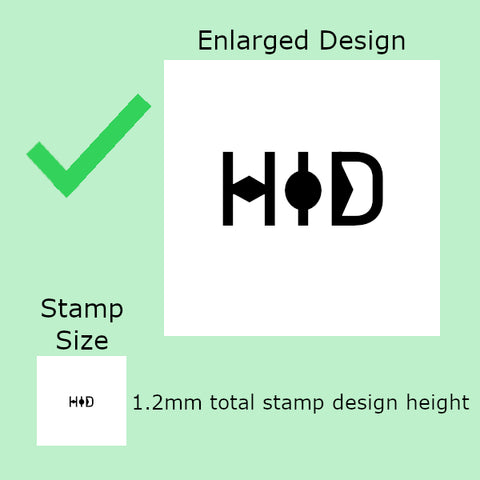
Usually the height is specified and the width is taken relative to the design. If you are also using an alloy hallmark such as 925, 9ct etc. you might wish to match the height of this or make it slightly larger. If you're getting a gooseneck/bent stamp you should consider the width of the ring bands you commonly make to ensure the custom hallmark with fit within the width when stamped. Common sizes ordered are 1mm and 1.5mm high.
It is not recommended to have the gooseneck/bent stamp larger than 3mm in height and 5mm in width. Beyond this is very difficult to use.
It's a good idea to print your design at the actual size you wish it to be made, to see if it is too complex or if it is clear to identify.
Should I get Straight and Gooseneck/Bent?
If you are planning on making a variety of different types of work it is common to get both a straight and gooseneck/bent stamp. The gooseneck/bent stamp can sometimes be slightly smaller depending on the size work you are making.
How complex can my design be?
The simpler your design the more clearly it will be able to be read. It is a good idea to simplify complex logos as dense areas of shading or texture do not come out well and make the stamp hard to identify. The best designs for stamps are composed of simple lines. If there are large areas which you would like to be indented, then the stamp will be take more force to impress.
When you submit your design, it should be in black and white format. Any area that is black will be indented into the metal once the stamp is impressed.
How do I use it?
The straight hall mark is much easier to stamp. Time should be taken to line up the hallmark exactly where you wish it to be. It should be supported by a polished plate, usually steel or brass. Using a brass mallet is ideal but a steel hammer can also work. Don't hit the stamp too hard or it can cause deformation shadows on the other side of the metal. It's a good idea to do some practice on similar scrap metal to get a feel for the best amount of force to use.
The gooseneck/bent stamp is more difficult to use. For this stamping, the piece also needs to be supported from below. This can be achieved through the use of a curved brass stamping plate. If you have a ring which is an unusual shape in the place you wish to stamp, then you can set the work in dopping wax on a piece of wood. Once the wax is hard it will support the work during stamping. If you use a flat plate to stamp a ring on, there is a risk of creating a flat spot on the outside of the ring, behind where the hallmark was stamped. If the design on your hallmark is wide, then it will come with a slight curve in it to compensate for the curve of the ring. Depending on your design, you may have to impress the stamp through several blows, by rocking the side to side or up and down for subsequent blows. Pay very close attention to keeping the stamp in the grooves already impressed into the metal. If the stamp moves it can create a double stamp shadow which will have to be polished out before re-stamping. It is a good idea to make a practice ring to try your stamp out on to get a feel for the best amount of force to use and to whether you will need multiple blows. Using a dead blow hammer such as a brass mallet is ideal but a steel hammer can also work.

What if the end of the stamp I hit mushrooms over?
If you have been using your stamp for a while with a steel hammer and the end you hit with the hammer begins to mushroom over then you should grind back the over-lap as soon as possible. If left to mushroom it can create cracks in your stamp over time and pieces could fly off in use. You can use a grinding bur such as a Rosa in a micromotor or a grinding wheel on a bench arbour would be ideal.
Mushrooming is far less likely to happen if you use a brass hammer to hit your stamp, as it is softer than the steel stamp.
Manufactured in PRC


